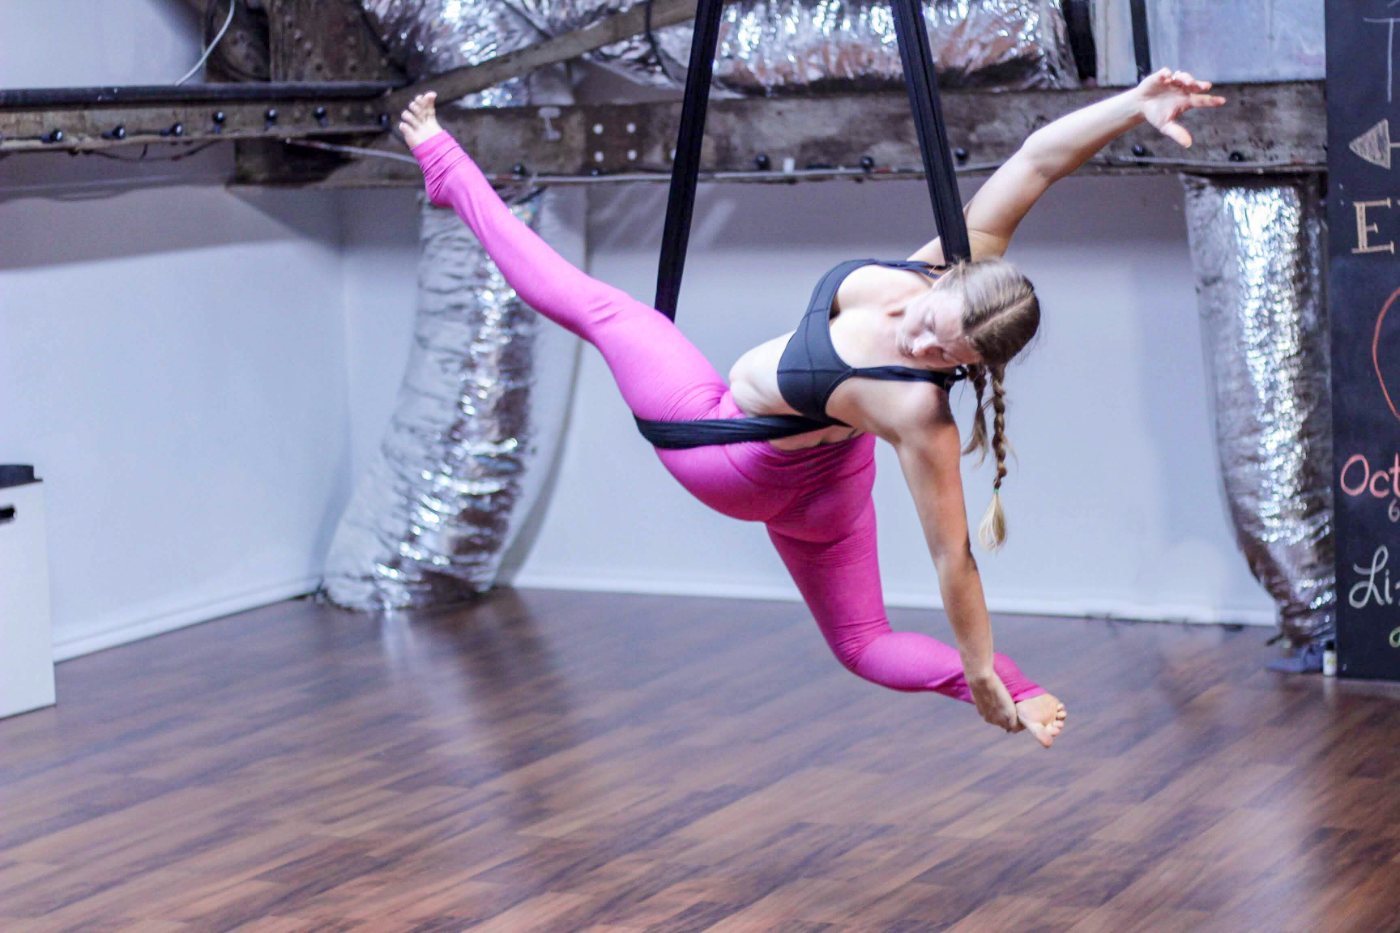
Online aerial yoga means learning and practicing aerial yoga through video instruction, rather than attending a physical studio. You set up a hammock or aerial silk in your home, follow along with an instructor on screen, and get all the benefits of aerial yoga on your own schedule.
It’s more accessible than most people expect. You don’t need a dedicated aerial studio or expensive equipment. What you need is a properly rigged setup, a yoga hammock or silk, and a teacher who gives clear, safe, alignment-based cues. The rest follows.
I’ve been teaching aerial yoga for over 15 years and training aerial yoga teachers through UpDown Academy. Online teaching is a big part of how I work, because access to good instruction shouldn’t depend on living near the right studio.
What you need to practice aerial yoga at home
The hammock
A yoga hammock (also called an aerial yoga silk or aerial fabric) is the main piece of equipment. Look for a hammock rated for dynamic loads, not just static weight, made from nylon or tricot fabric with a weight capacity of at least 1,000 lbs. Many kits come with the mounting hardware included. Budget roughly $50–$120 for a quality beginner setup.
The rig
For home practice, a freestanding aerial rig is the safest and most flexible option. A quality freestanding rig eliminates the need to anchor into your ceiling structure and gives you the freedom to practice indoors or outdoors, and move your setup as needed.
Two reputable options I recommend:
Important safety notice: If you are considering rigging into your home's ceiling structure, even with ceiling mounts or joists, always consult a professional rigger and a licensed structural engineer before installation. You should also review your home insurance policy before rigging indoors, as some policies may be affected by aerial equipment. When in doubt, a quality freestanding rig is the safest and simplest solution.
Space requirements
You need approximately 6–8 feet of clear space in all directions around your rig, and a ceiling height of at least 8 feet (9–10 feet is more comfortable for most rigs). Living rooms and bonus rooms usually work well. Clear furniture, tuck any rugs, and make sure the floor beneath is unobstructed.
What to wear
Fitted clothing that covers the back of your knees and armpits, the hammock can pinch bare skin in those contact points. Leggings and a fitted long-sleeve or crop top work perfectly. Remove jewelry and hair accessories with hard pieces before practicing.
What classes are available online
| Format | What’s included |
|---|---|
| Free YouTube classes | Full-length aerial yoga flows, beginner tutorials, and decompression sequences, completely free. New videos weekly. Covers beginner through intermediate. |
| Beginner flows | Foundational series: basic inversions, supported backbends, and hammock orientation so you feel safe before you explore. |
| Spinal decompression | Short 10–20 minute sessions focused on releasing the mid-back, decompressing the lumbar, and reversing the effects of sitting all day. |
| Private virtual sessions | One-on-one attention for your specific goals, whether that’s building aerial confidence, working around an injury, or creating a home practice routine. |
What makes aerial yoga different from regular yoga
The hammock changes what’s possible in two important ways.
First, it removes gravity’s compression on the spine. In a standing forward fold, your spine is still fighting gravity. In an aerial inversion, the hammock suspends you and gravity actually pulls the spine long, creating genuine traction that you can’t replicate on the mat. For anyone with chronic back tension, this alone is worth the setup.
Second, it provides support that allows deeper ranges of motion than most students can access on the floor. The hammock acts as a spotter, which means you can explore a full backbend, a hip opener, or an inversion with a level of safety and support that makes these accessible to real bodies at real fitness levels.
And honestly? It’s joyful in a way that mat yoga sometimes isn’t. There’s a reason students come back week after week. There’s something about being off the ground that unlocks a different relationship with movement.
Who aerial yoga is good for
- People with mid-back tension or desk-related stiffness
- Anyone curious about inversions but not ready to freestand
- Yoga practitioners who want to add variety to their home practice
- People with tight hips or hamstrings who struggle with floor-based flexibility work
- Anyone who's been told they "can't do yoga" because of joint issues
Who should check with a doctor first
- Recent spinal surgery or significant spinal injury
- Glaucoma or retinal conditions (inversions increase intraocular pressure)
- Uncontrolled high blood pressure
- Pregnancy (modifications are available; consult your provider)
- Active vertigo or severe inner ear conditions
How to start
The easiest path is to start on YouTube. Watch a beginner session first without moving, just to see the pacing, the cues, and what the practice looks like. Then on your second watch, practice along.
Don’t rush into inversions. The first sessions should focus on sitting in the hammock comfortably, understanding your rig setup, and learning how the fabric moves. Confidence comes quickly from there.
If you want more structure or personalized guidance, reach out about private virtual sessions, especially if you’re working around an injury or want help designing your home practice safely.
Start with free aerial yoga on YouTube: beginner flows, decompression sequences, and alignment-based tutorials. New videos every week.
Watch on YouTube Ask about private sessionsWant to teach aerial yoga?
If you’re a yoga teacher looking to add aerial to your offerings, my Aerial Yoga Teacher Training covers rigging safety, beginner progressions, modifications for diverse bodies, and how to sequence accessible aerial classes. Join the waitlist to be notified when the next cohort opens.